Arena 3V3 ‘Raven Nest’ Elite Map
INTRODUCTION
➥ Each route in the Arena 3V3 match has several branch points. There are various routes, such as a route that allows you to reach the goal quickly and a route that collects a lot of Goldfish Coin, so it will greatly affect the outcome of the match.
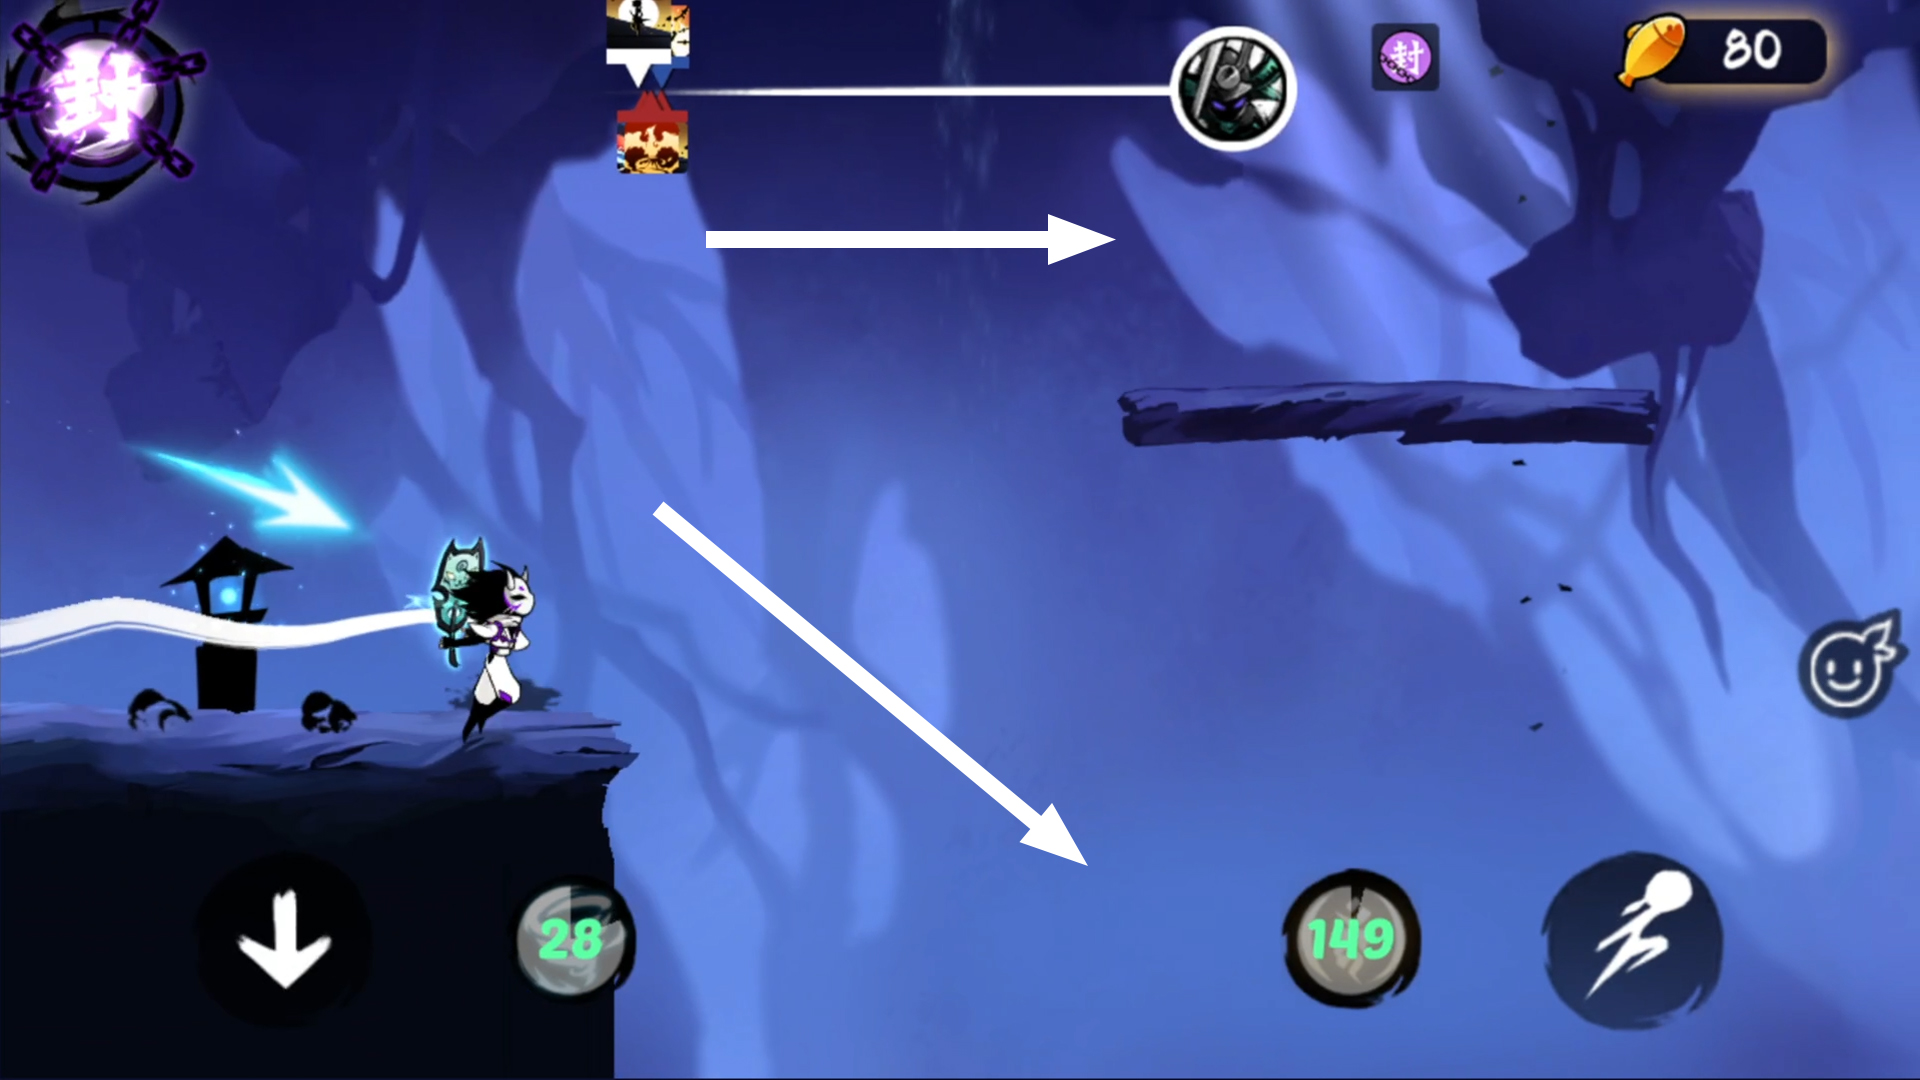
➥ During the match, the arrows that appear on the stage only show relatively safe routes. However, simply following the arrows is not the optimal route for collecting a lot of fish coins or for reaching the goal quickly.
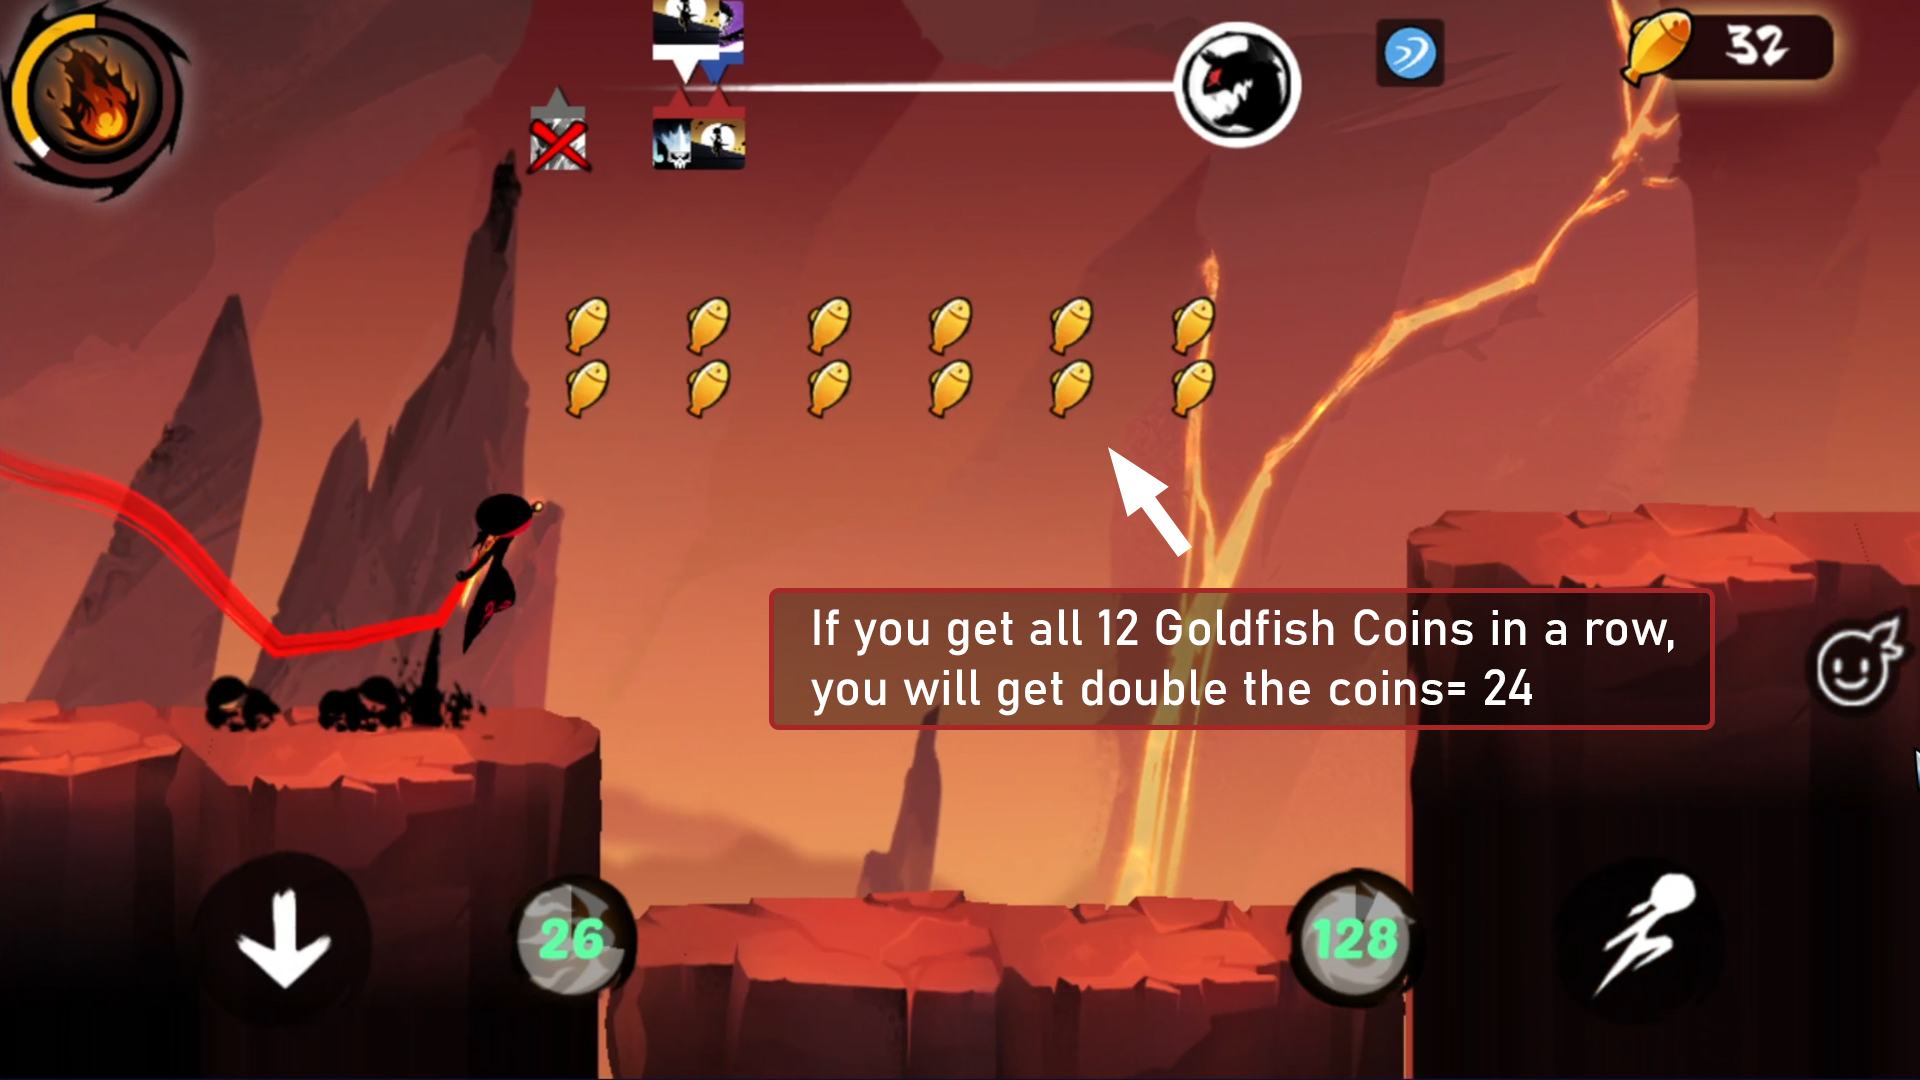
➥ Remember that there are 2 types of Goldfish Coins that can be collected. The first one is the normal Goldfish Coin where picking up 1 of them will give you 1 Goldfish Coin. However, if you get all the Goldfish Coins in one row, it will be doubled!
Example: A row of Goldfish Coins have a total of 10 Goldfish. If you manage to get all of them, it will be doubled and you can get a total of 20 Goldfish Coins.
Important: Some maps may have some consecutive rows of Goldfish Coins that are given a bonus, and some are not. For the sake of fairness, I will not double the coins here since it's not easy to get all the coins.
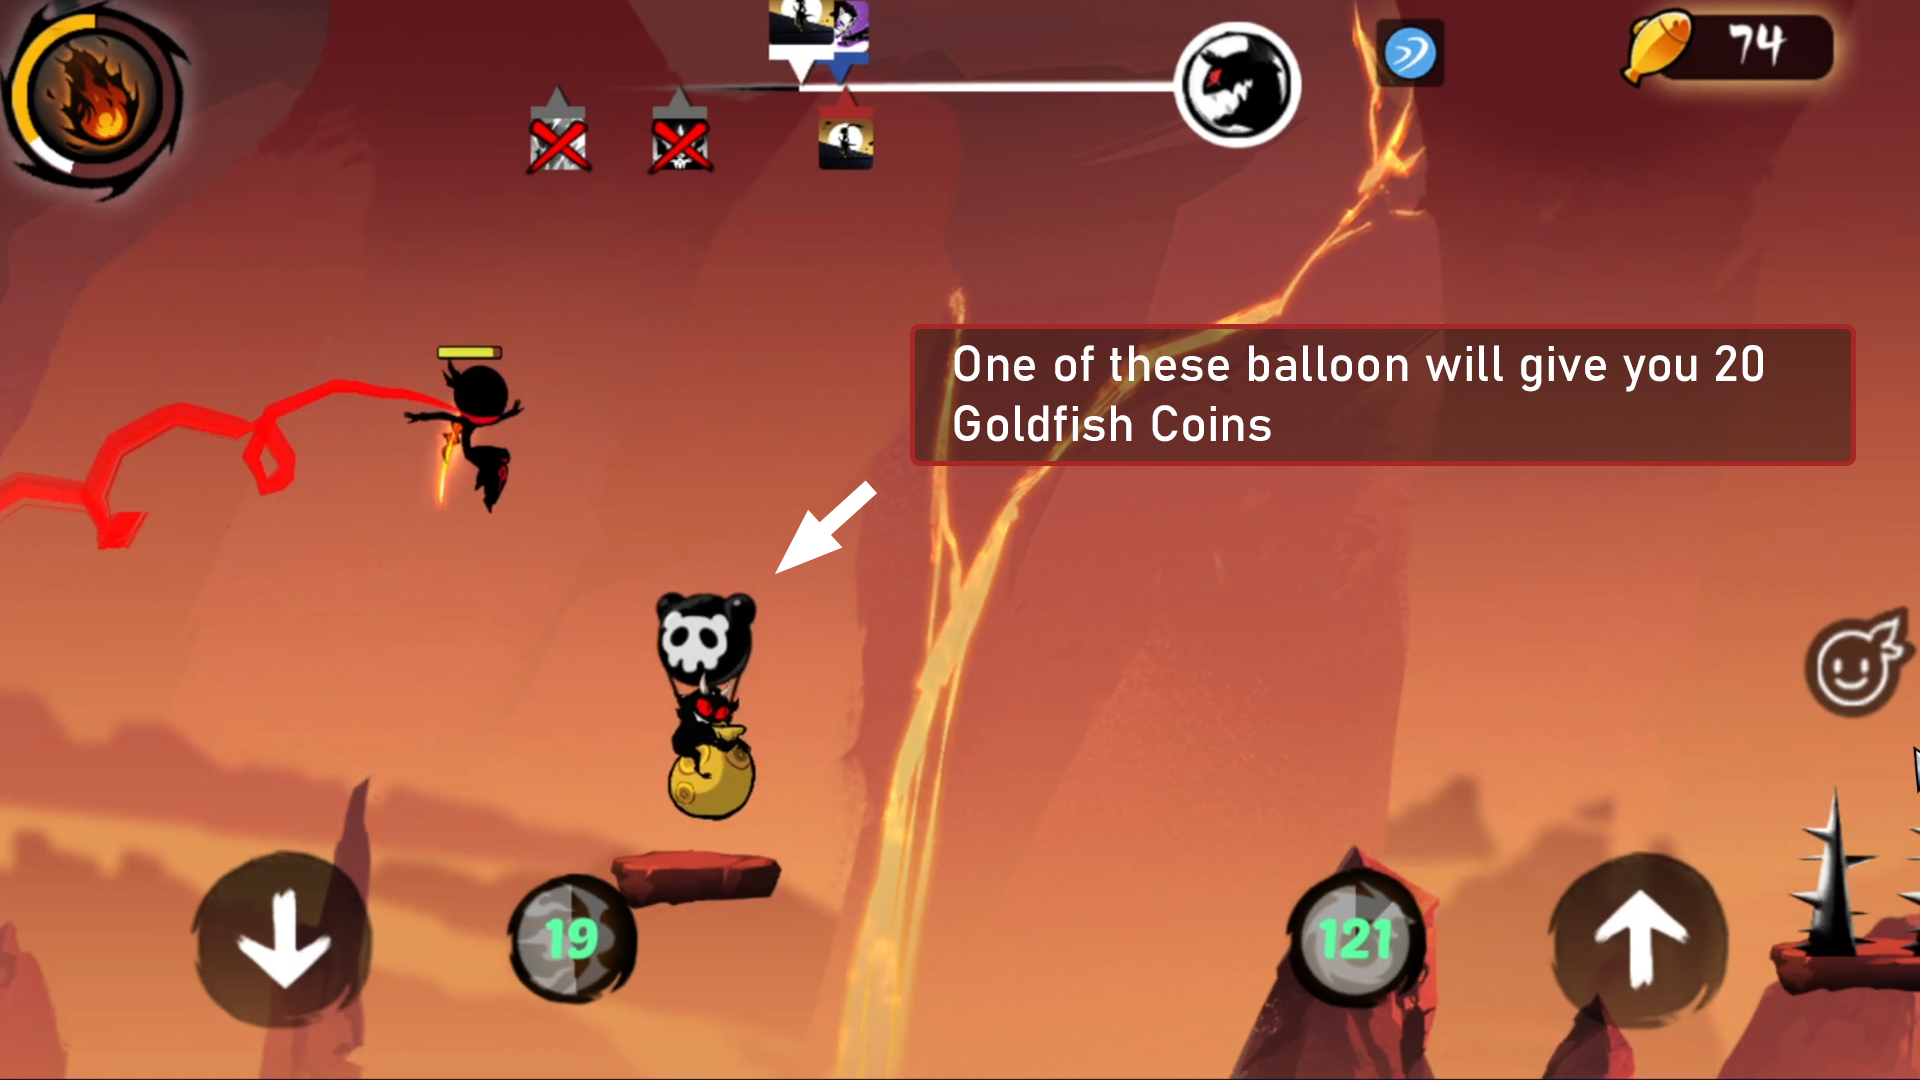
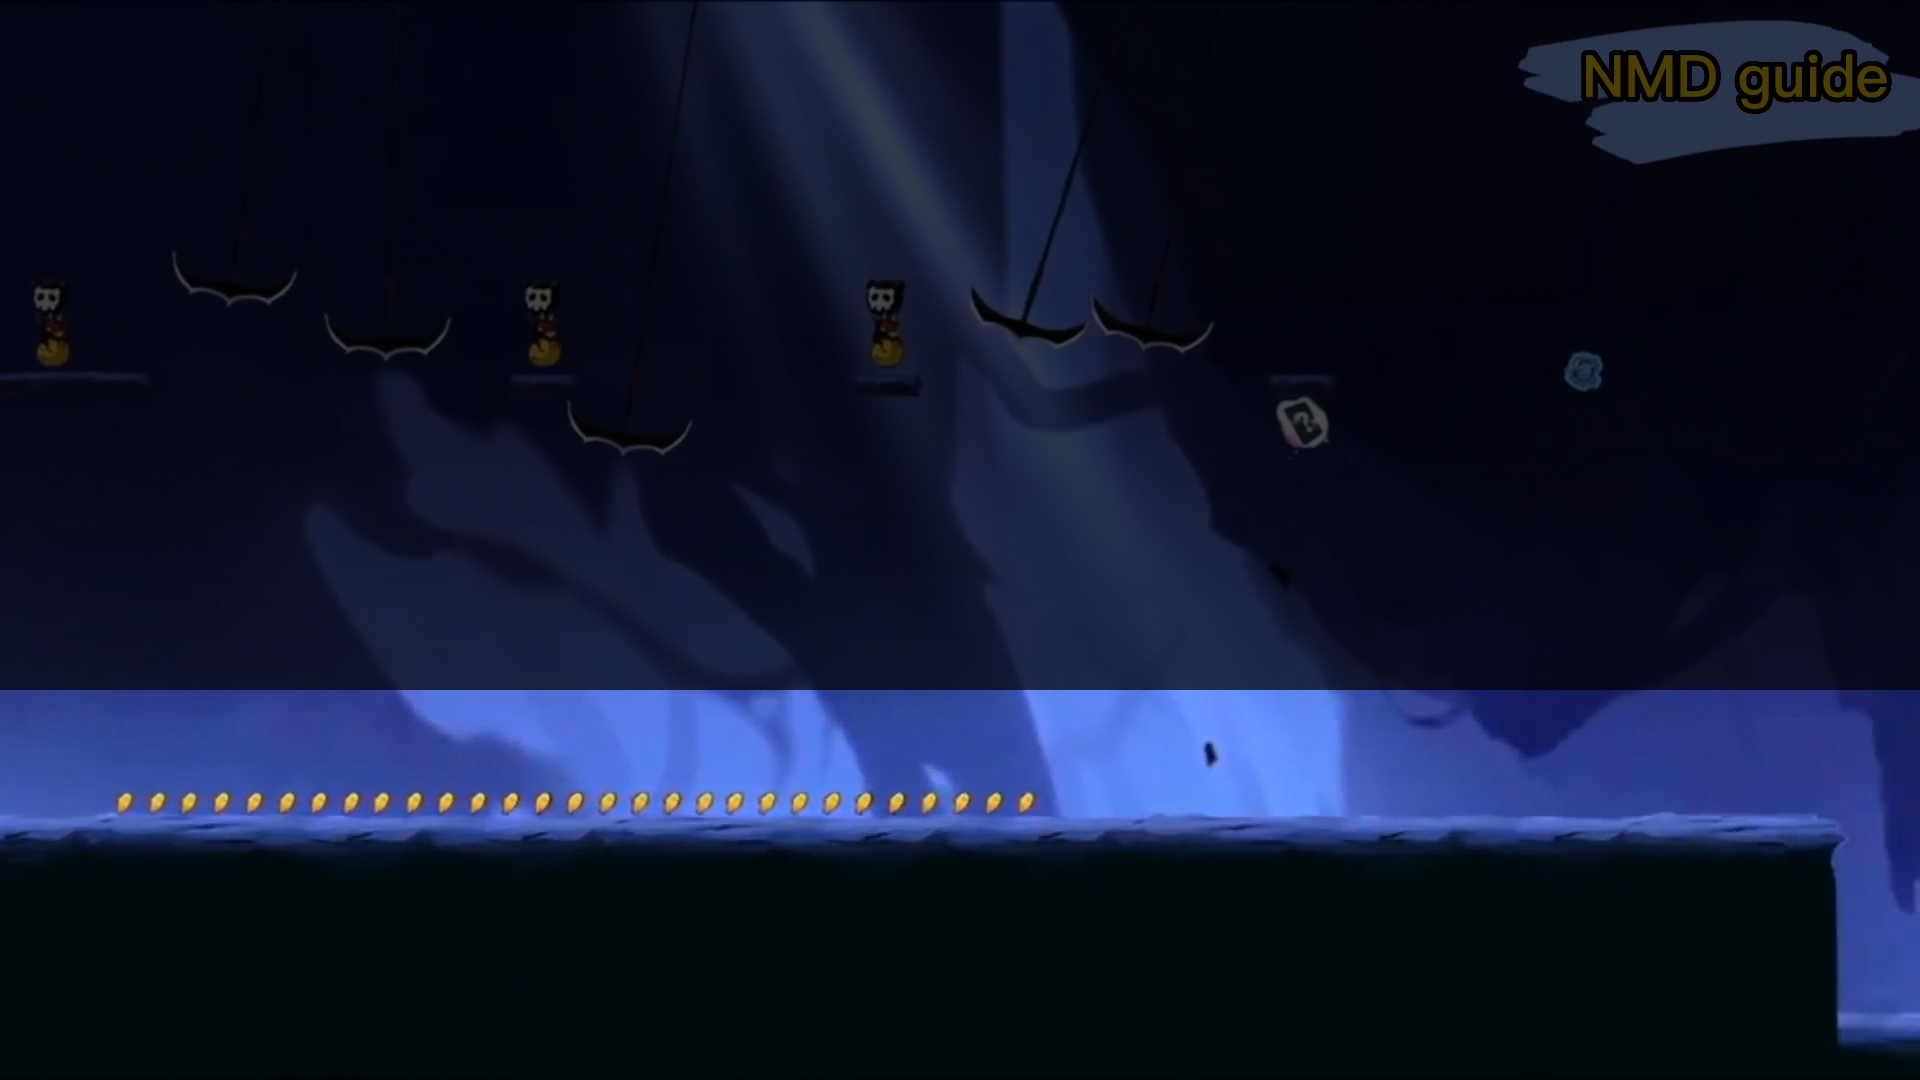
➥ The other one is the skull balloon that is floating in the arena. By picking up one of those balloons, you can get 20 Goldfish Coins!
➥ On a rare chance, you might encounter Thief Imps on some maps. Not only those little gremlins dropped a random number of Goldfish Coins, but you can also get another 5 coins after killing them. When you see them, try to chase all of them so you can get extra Goldfish Coins.
➥ Don't forget that killing enemies (that can be killed) will also provide you with Goldfish Coins. Using a quick dash is really beneficial here because you can unalive the opponent while also sprinting faster to reach the destination.
➥ One last reminder, while the guide mentioned the possible total number of Goldfish Coins in certain routes, don't forget that there will be a (big) gap between the total amount of coins and the total amount players can get (you have to be impossibly skilled to get the exact amount of Goldfish Coins mentioned). Once again, this guide does not mention the total amount of Goldfish Coins in one stage, just a certain amount of coins in certain routes.
FIRST HALF ROUTE
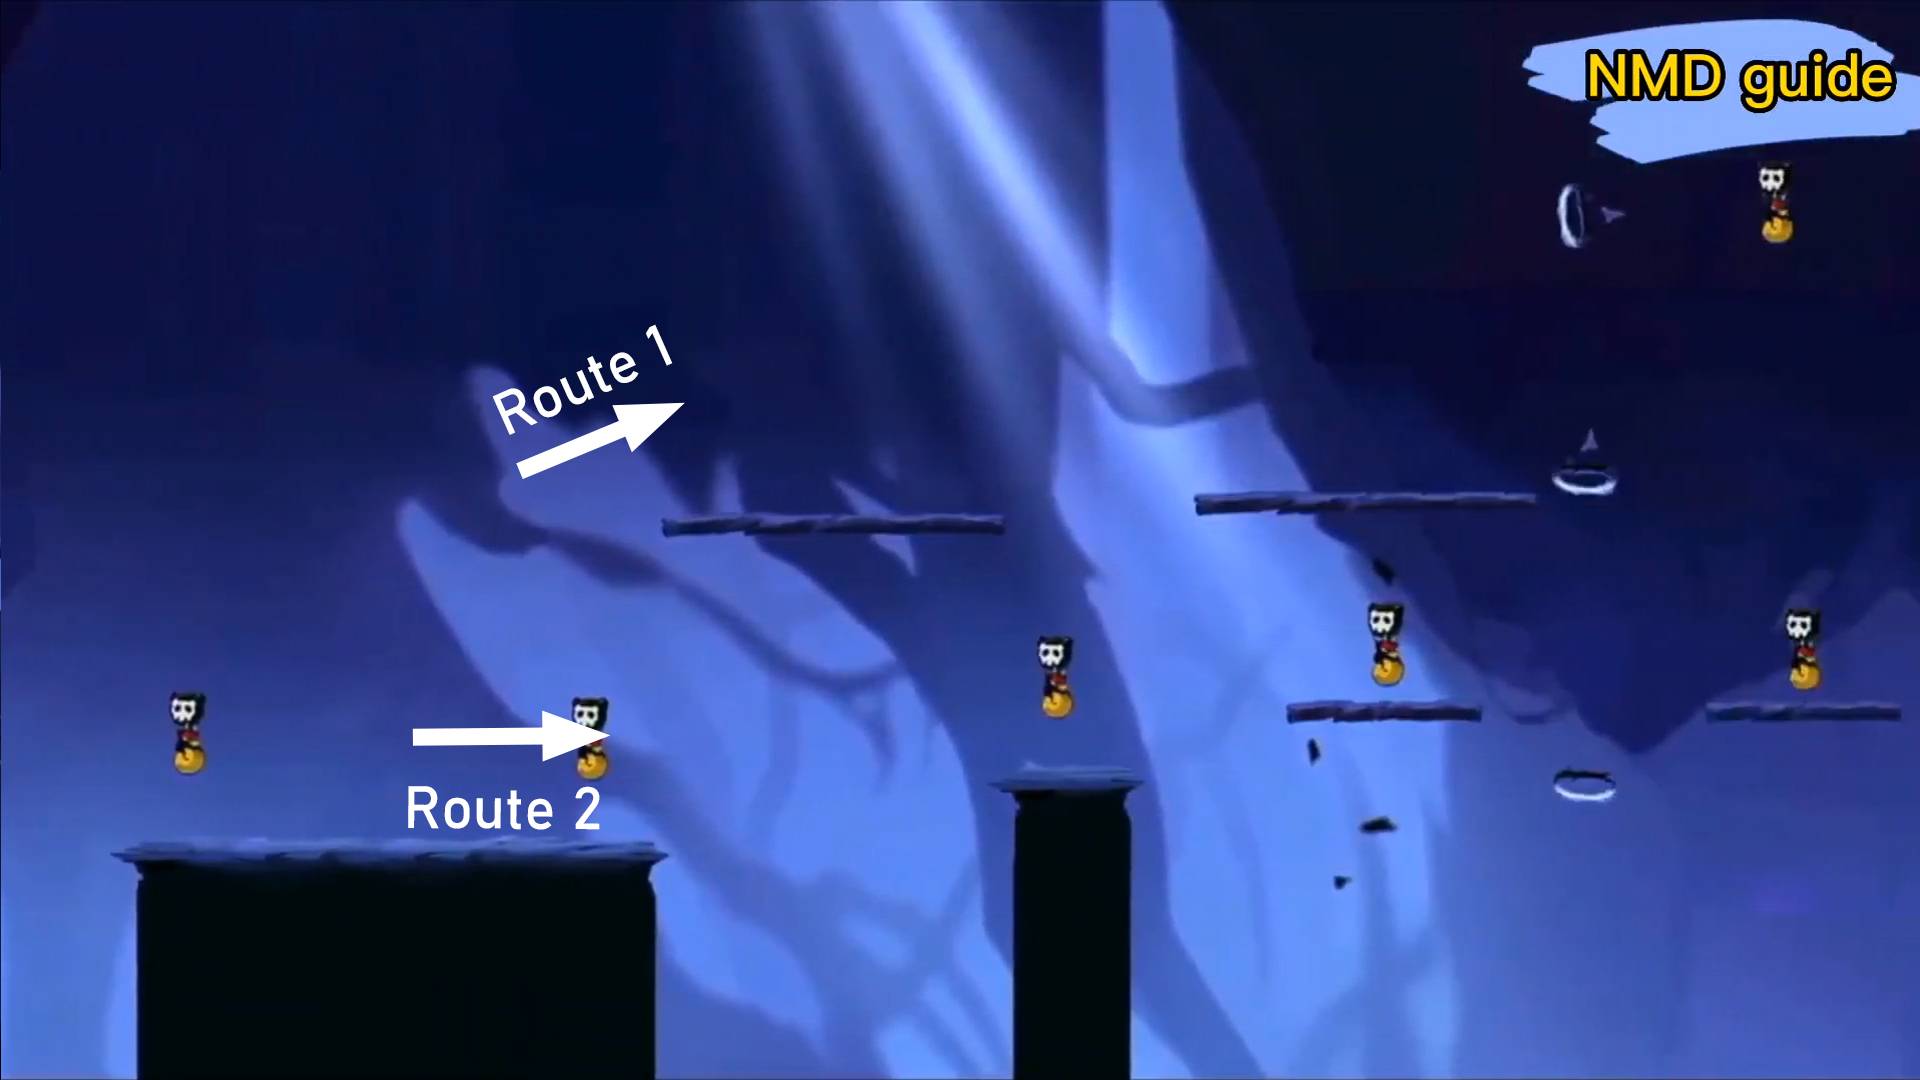
〚 Fork 1 〛
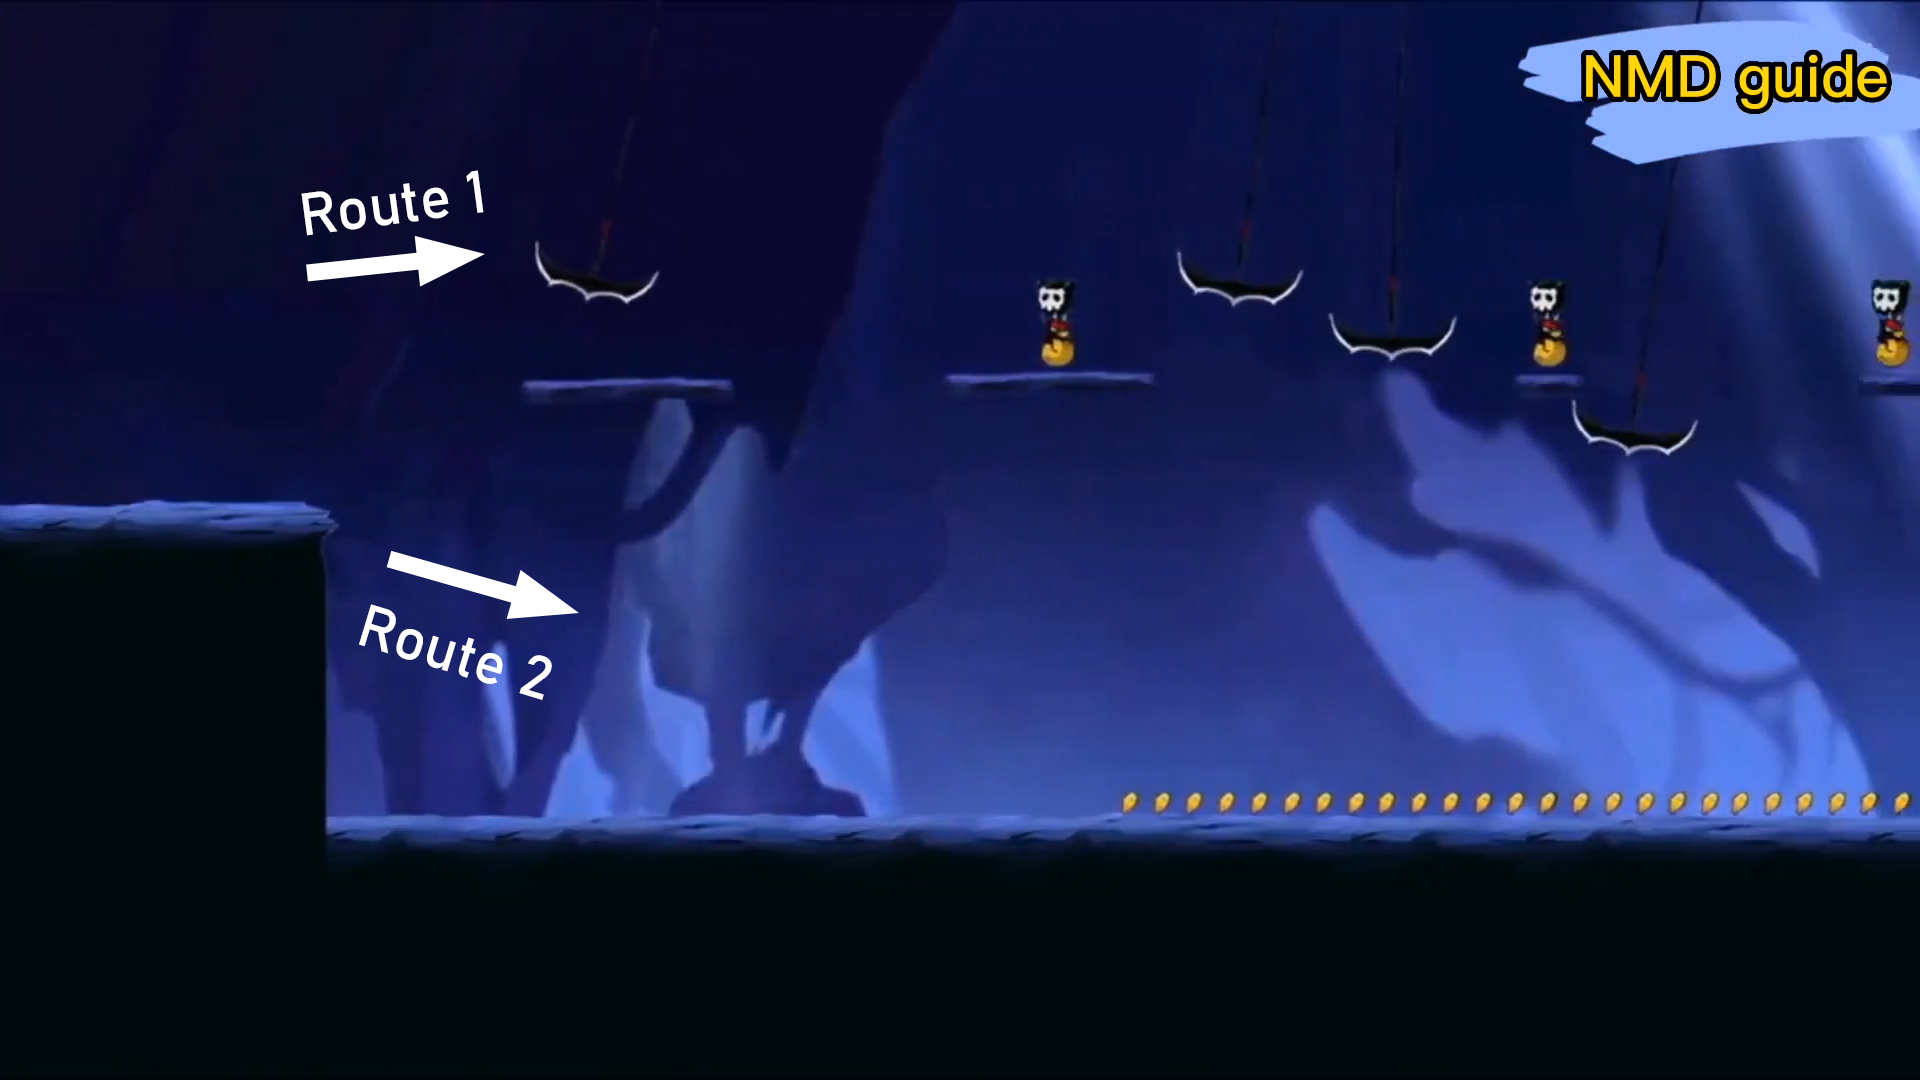
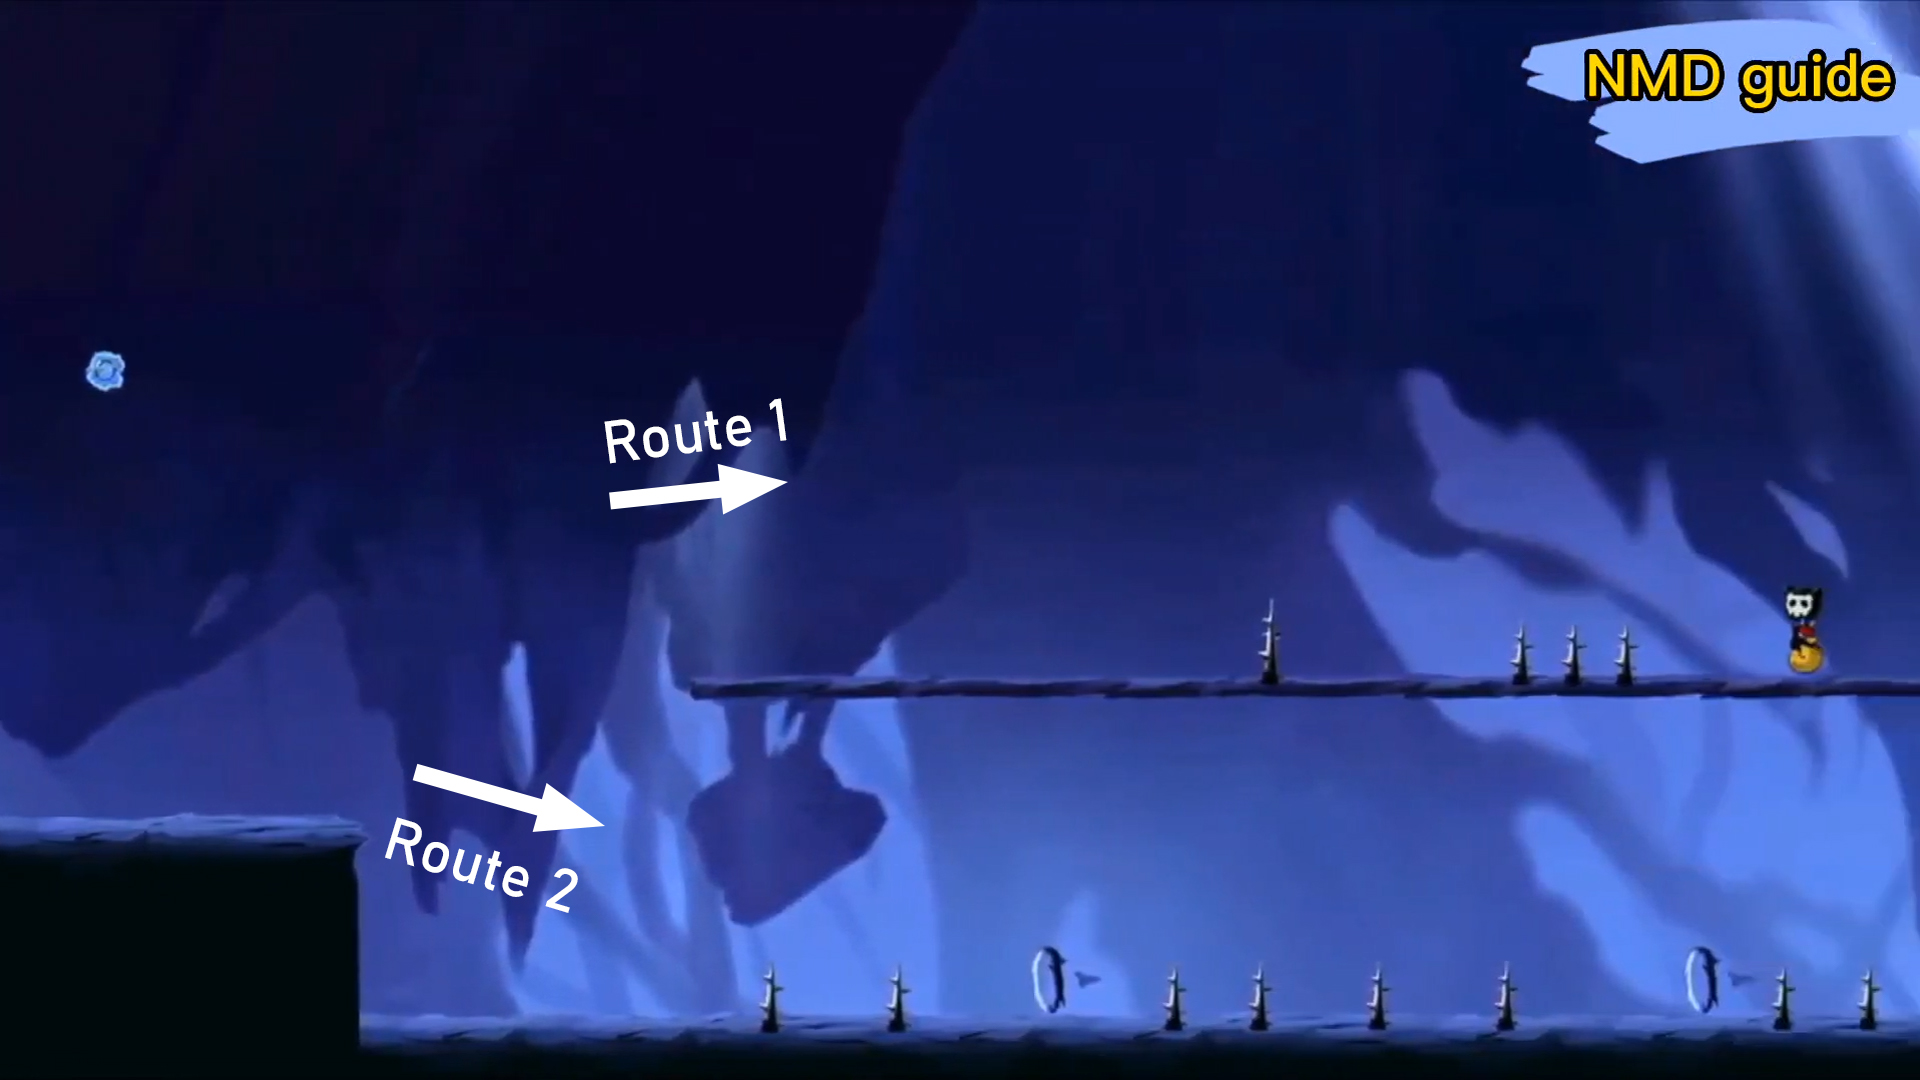
➥ For the first half route, there are forks you need to pay attention to. In the first fork, there are 2 routes you can choose from. Route 1 is for those who want to gather the most coins and get a card and temporary shield skill with the cost of being a little late to the destination. While Route 2 will give you a similar amount of Goldfish Coins but you can reach the destination much faster.
『 Route 1 』
➥ In Route 1, you can collect around 60 Goldfish Coins, a card, and a skill. This route is recommended if you want to get those items. However, you will reach the destination a little later than Route 2 because you can't quickly dash here.
『 Route 2 』
➥ Route 2 is much simpler, and safe, and you can use the quick dash to reach the destination much faster. This route also gives almost the same amount of coins, which are 29 Goldfish Coins. But by going this route, you will miss the card and the skill.
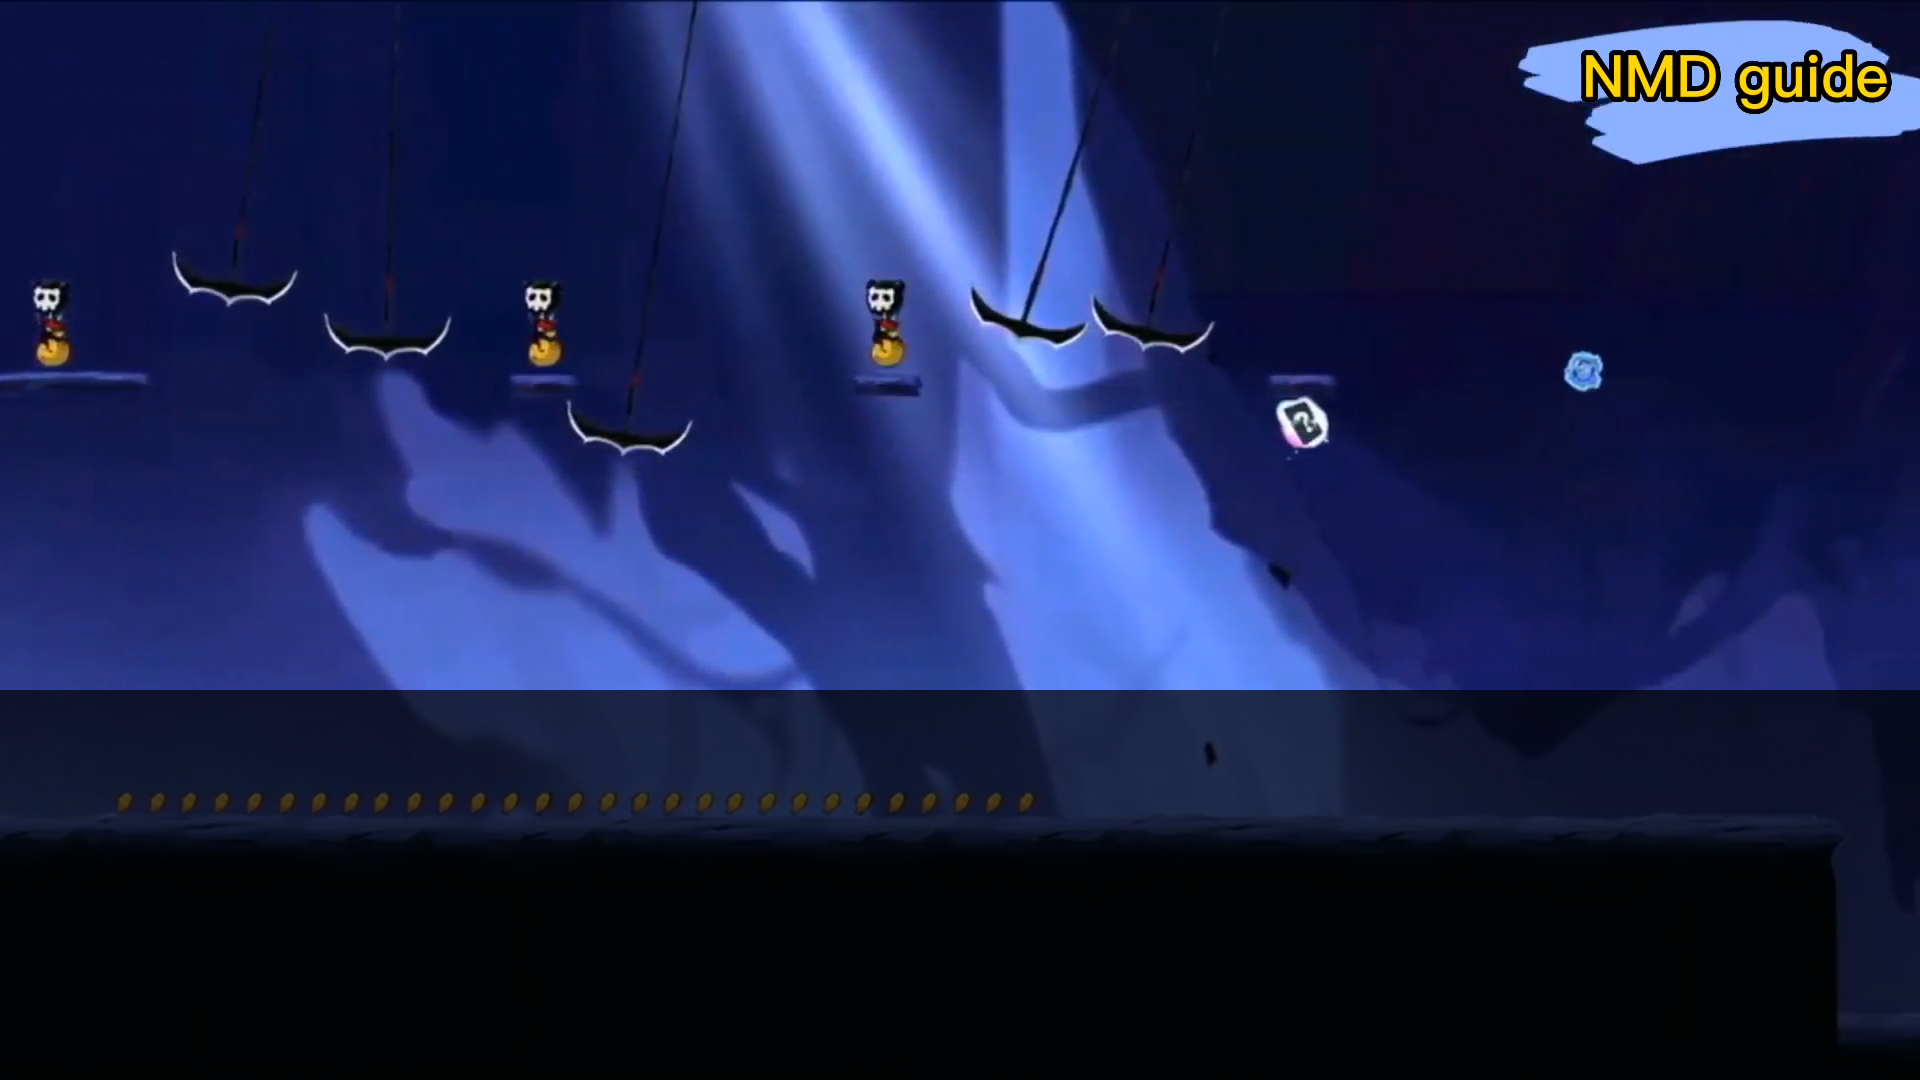
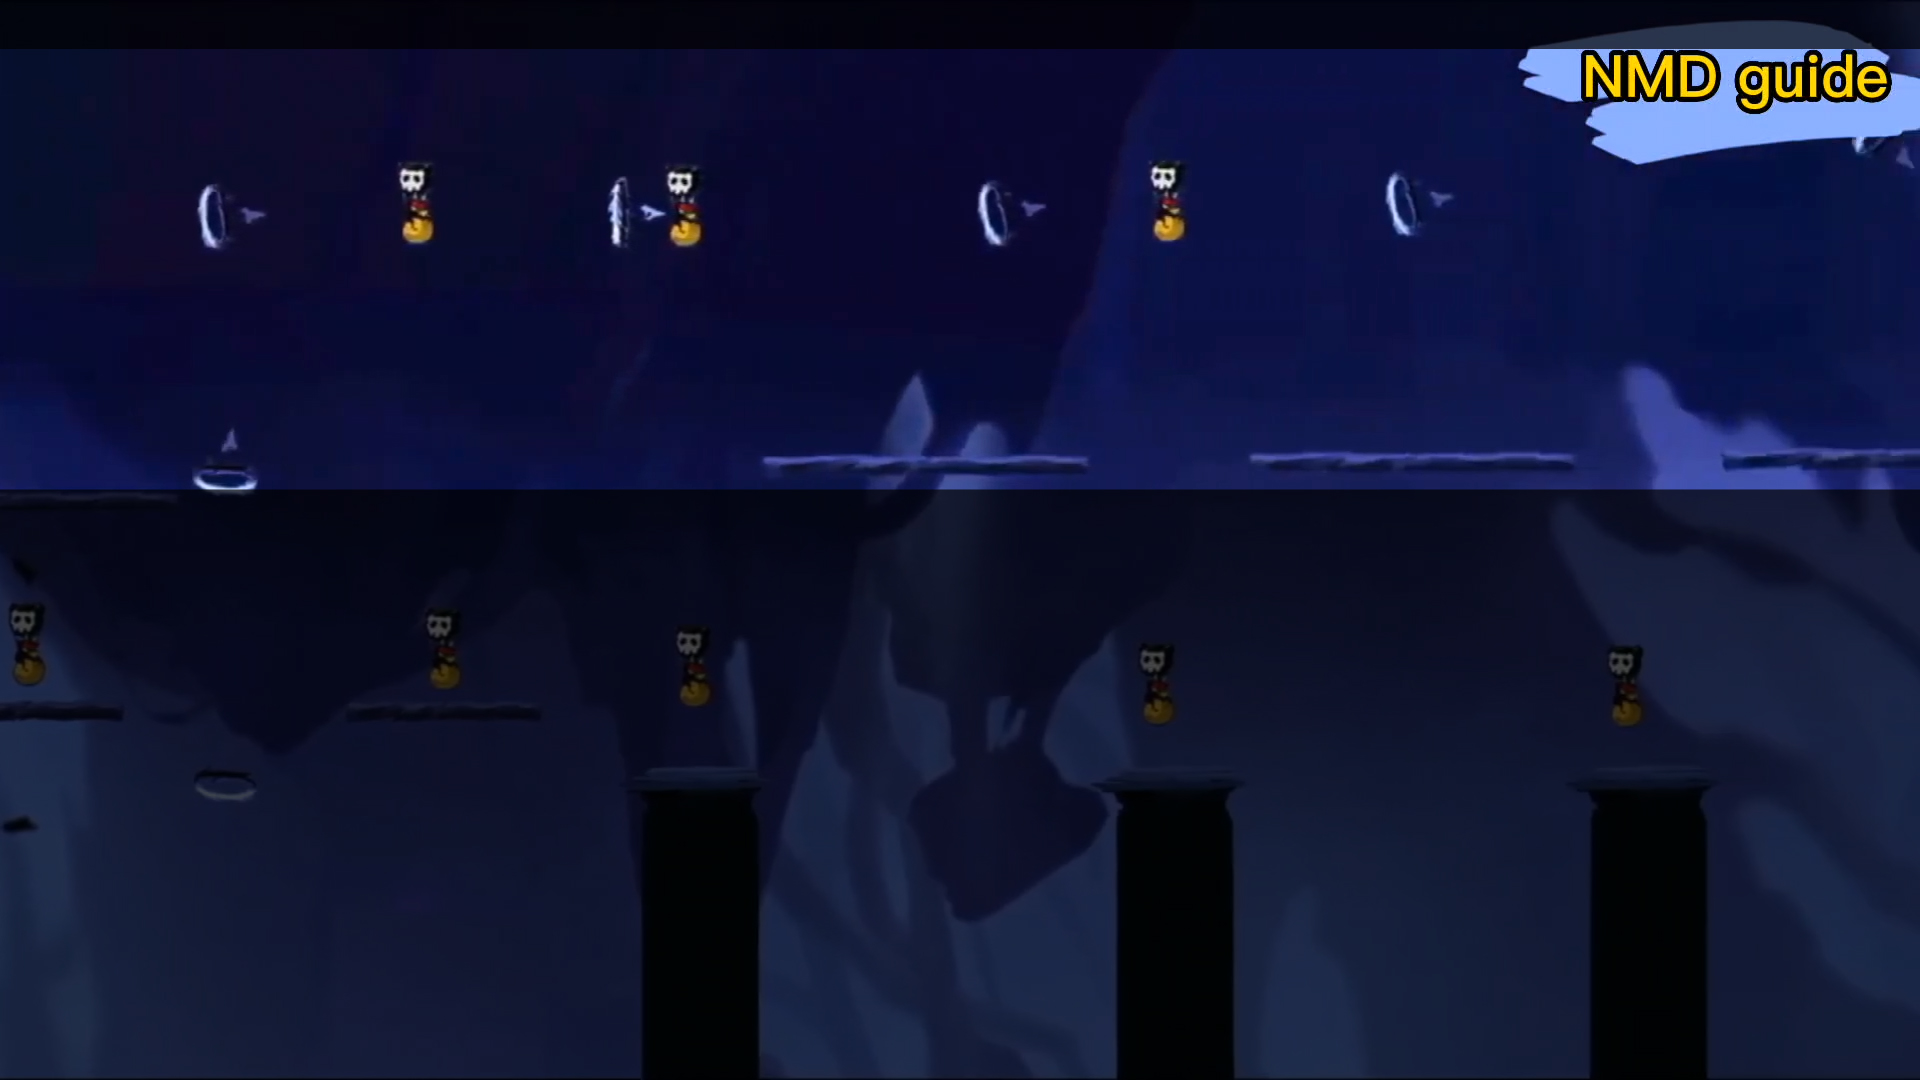
〚 Fork 2 〛
➥ The second fork is right after the first one and you must choose carefully which path you want to go. If you obtain the shield skill from previous Route 1 in Fork 1, you can choose to go either Route 1 or 2 in Fork 2. However, if you don't have any shield, choose Route 1 to make sure your Ninja is healthy.
『 Route 1 』

➥ Route 1 here is much safer if you don't have any shield skills. All you need to do is jump down before jumping upwards again so you'll be on top of the floating platform again. It requires practice to master that skill, but it is definitely much safer than Route 2. You will get 60 Goldfish Coins if you manage to pop all the balloons.
『 Route 2 』
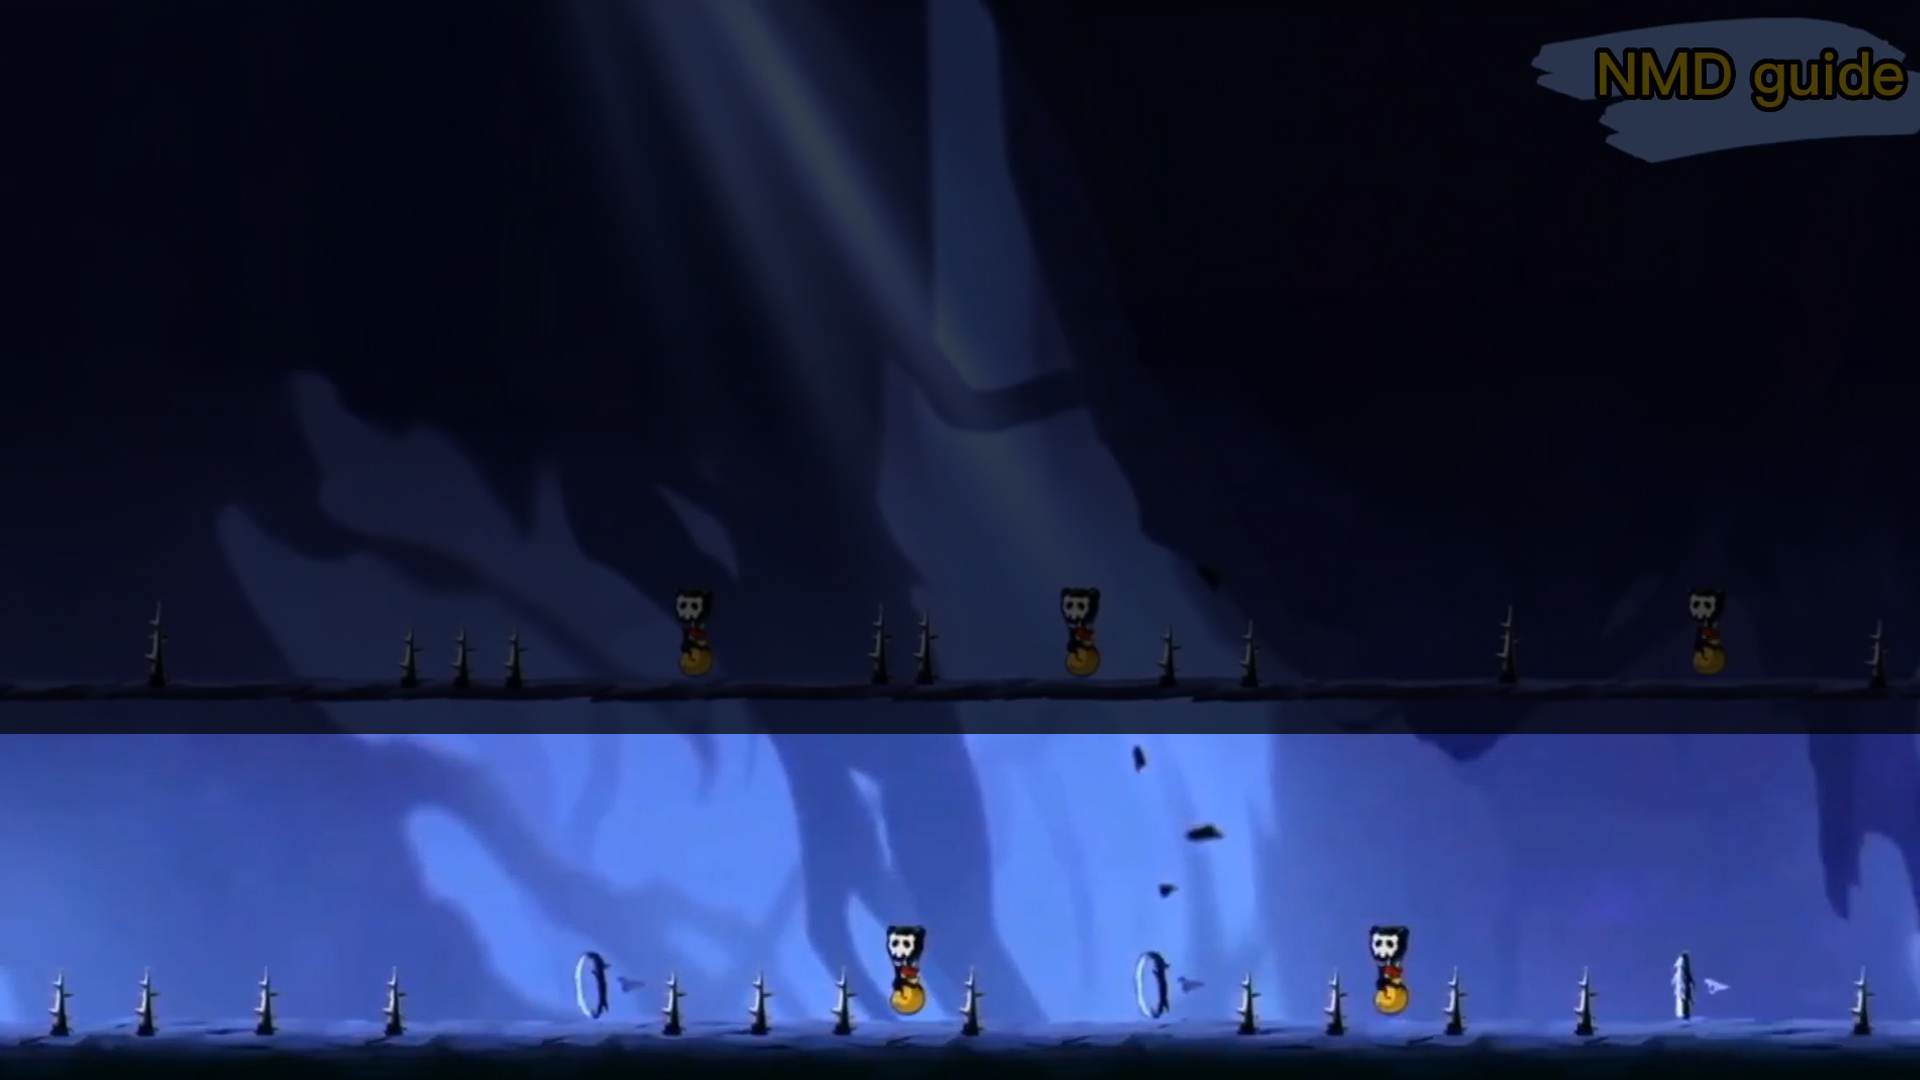
➥ Route 2 is dangerous because of the various acceleration portal near the spikes. You will be safe if you have a shield skill, but if you don't, and accidentally enter the portal, your unguarded character will sprint through all those spikes and take lots of damage (may even die if the HP is not enough). The number of coins is the same as Route 1, which is 60 Goldfish Coins.
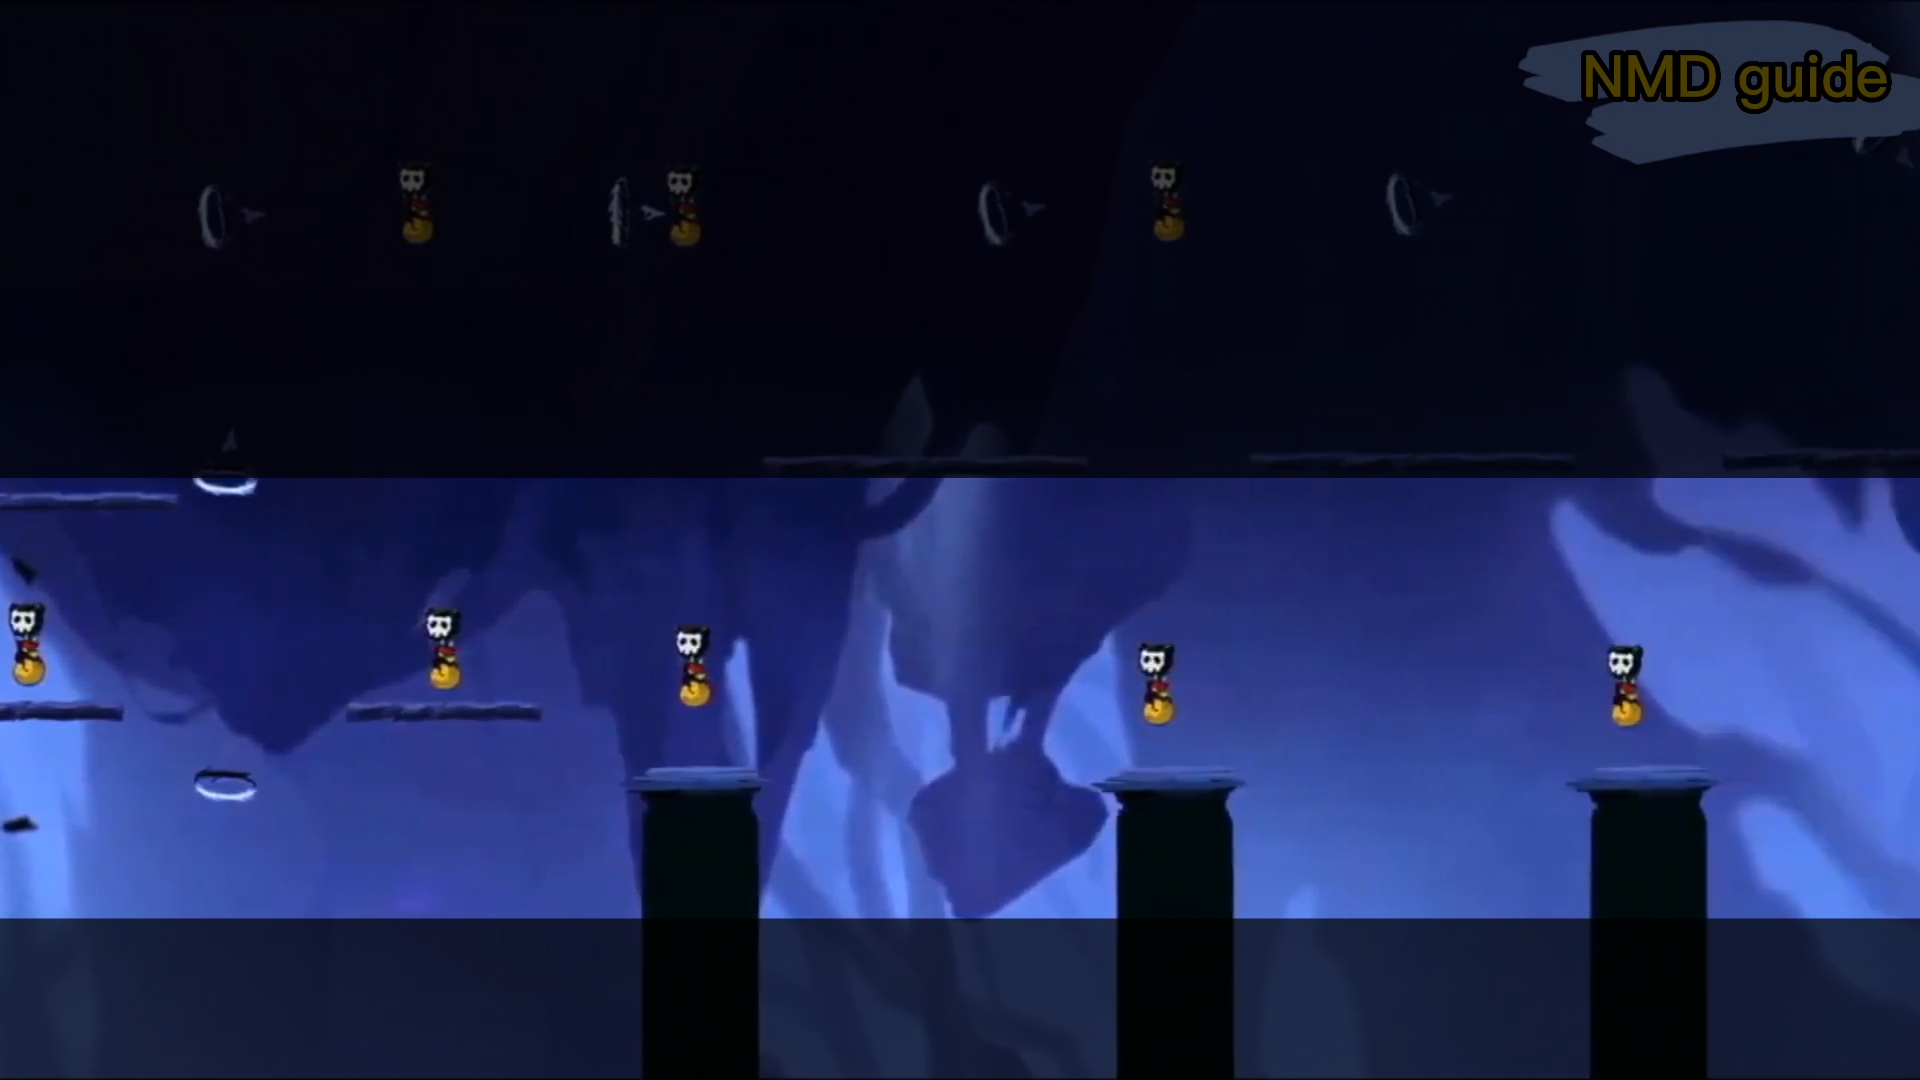
〚 Fork 2 〛
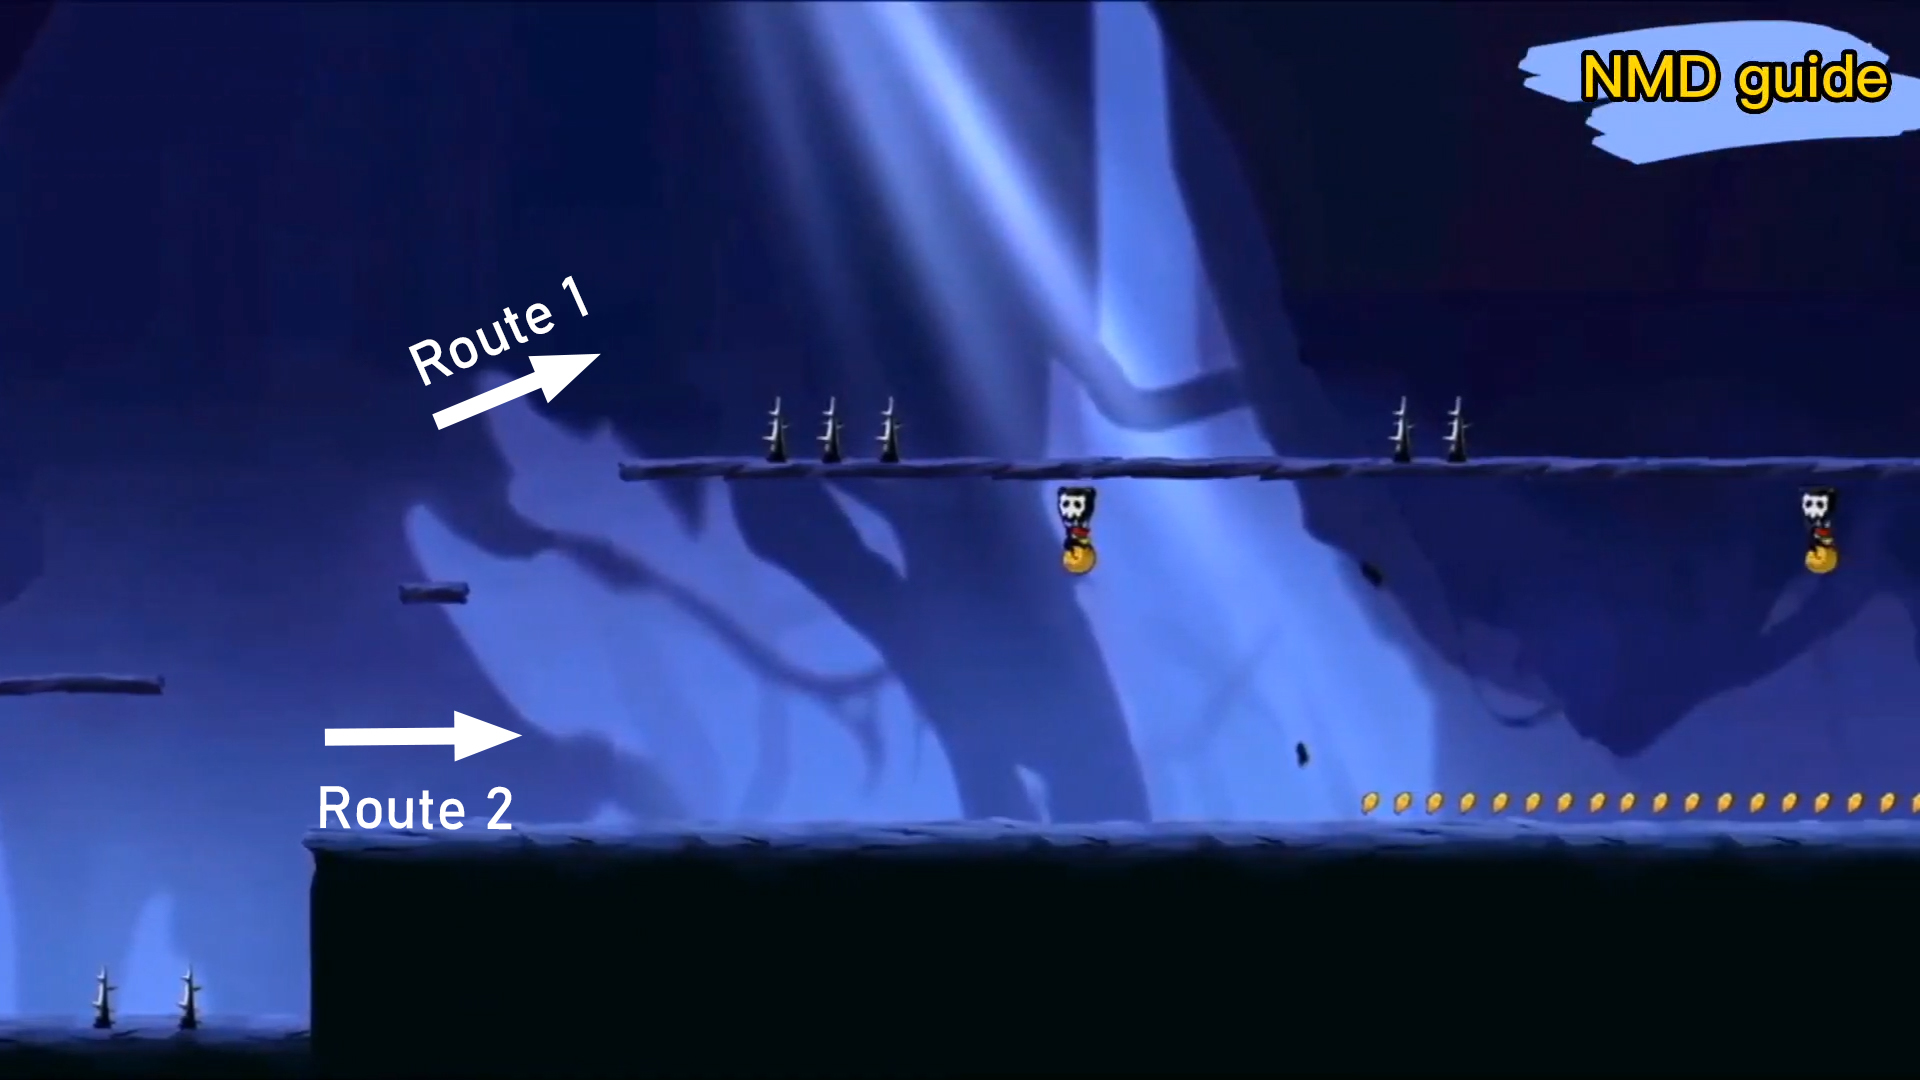
➥ The last fork in the first half is also right after the previous fork. This is a simple choice of whether you want to get more coins or if you want to reach the destination earlier. Route 1 is for more Goldfish Coins, while Route 2 is for almost the same amount of coins, but much faster to reach the final destination.
『 Route 1 』
➥ Route 1 requires the skill of jumping down and up to the floating platforms. But if you manage to pop all the balloons, you can get around 80 Goldfish Coins.
『 Route 2 』
➥ Route 2 is much easier and faster to reach the final destination and gives around the same number of coins, which is 29 Goldfish Coins.
SECOND HALF ROUTE
〚 Fork 1 〛
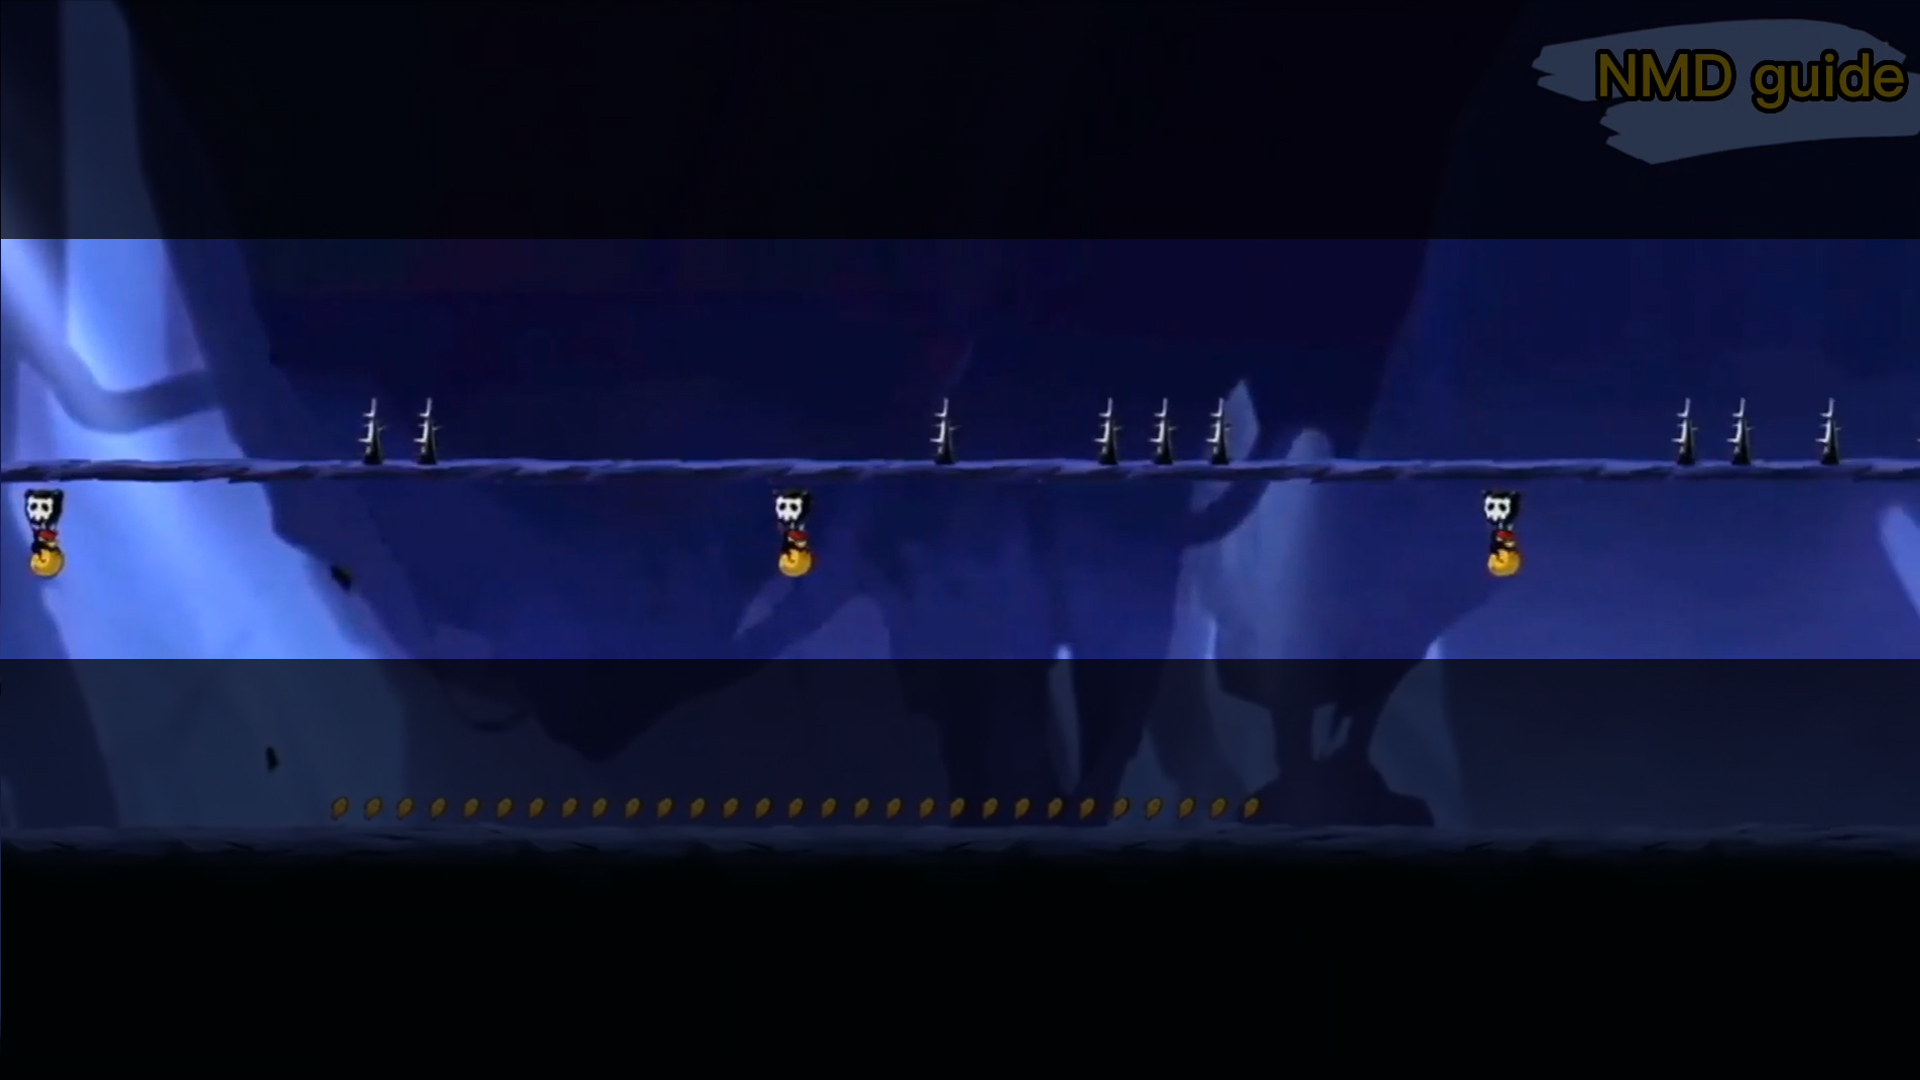
➥ For the second half, there are 2 forks. The first one is after a lot of tightropes and traps. There are 2 routes you can choose here, with both of the routes having the same amount of Goldfish Coins.
『 Route 1 』

➥ In Route 1, you can get around 120 Goldfish Coins. The only obstacle you have here is the Flying Bamboo.
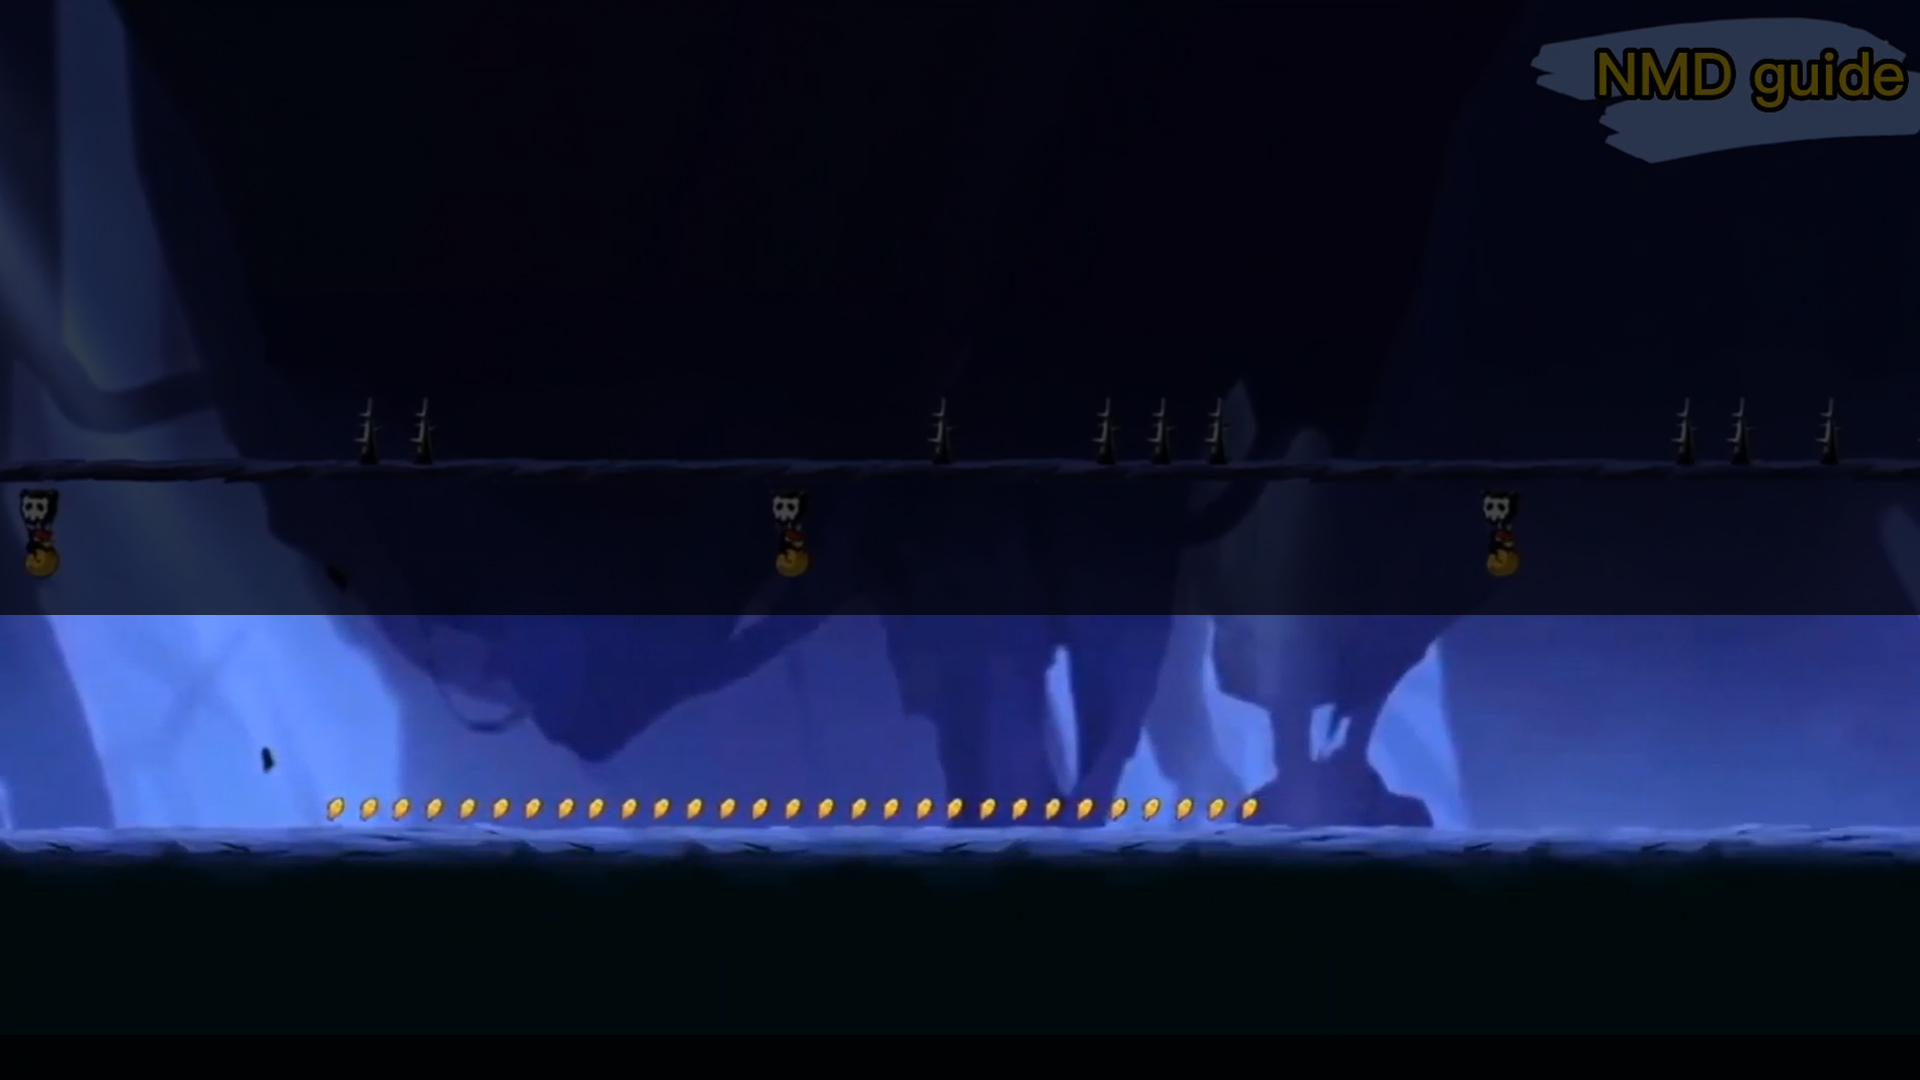
『 Route 2 』
➥ Route 2 is much stricter with the obstacles because you have lots of Samurai waiting for you and the Goldfish Coins balloons are scattered instead of in a straight line like in Route 1. The amount is the same though, with 120 Goldfish Coins.
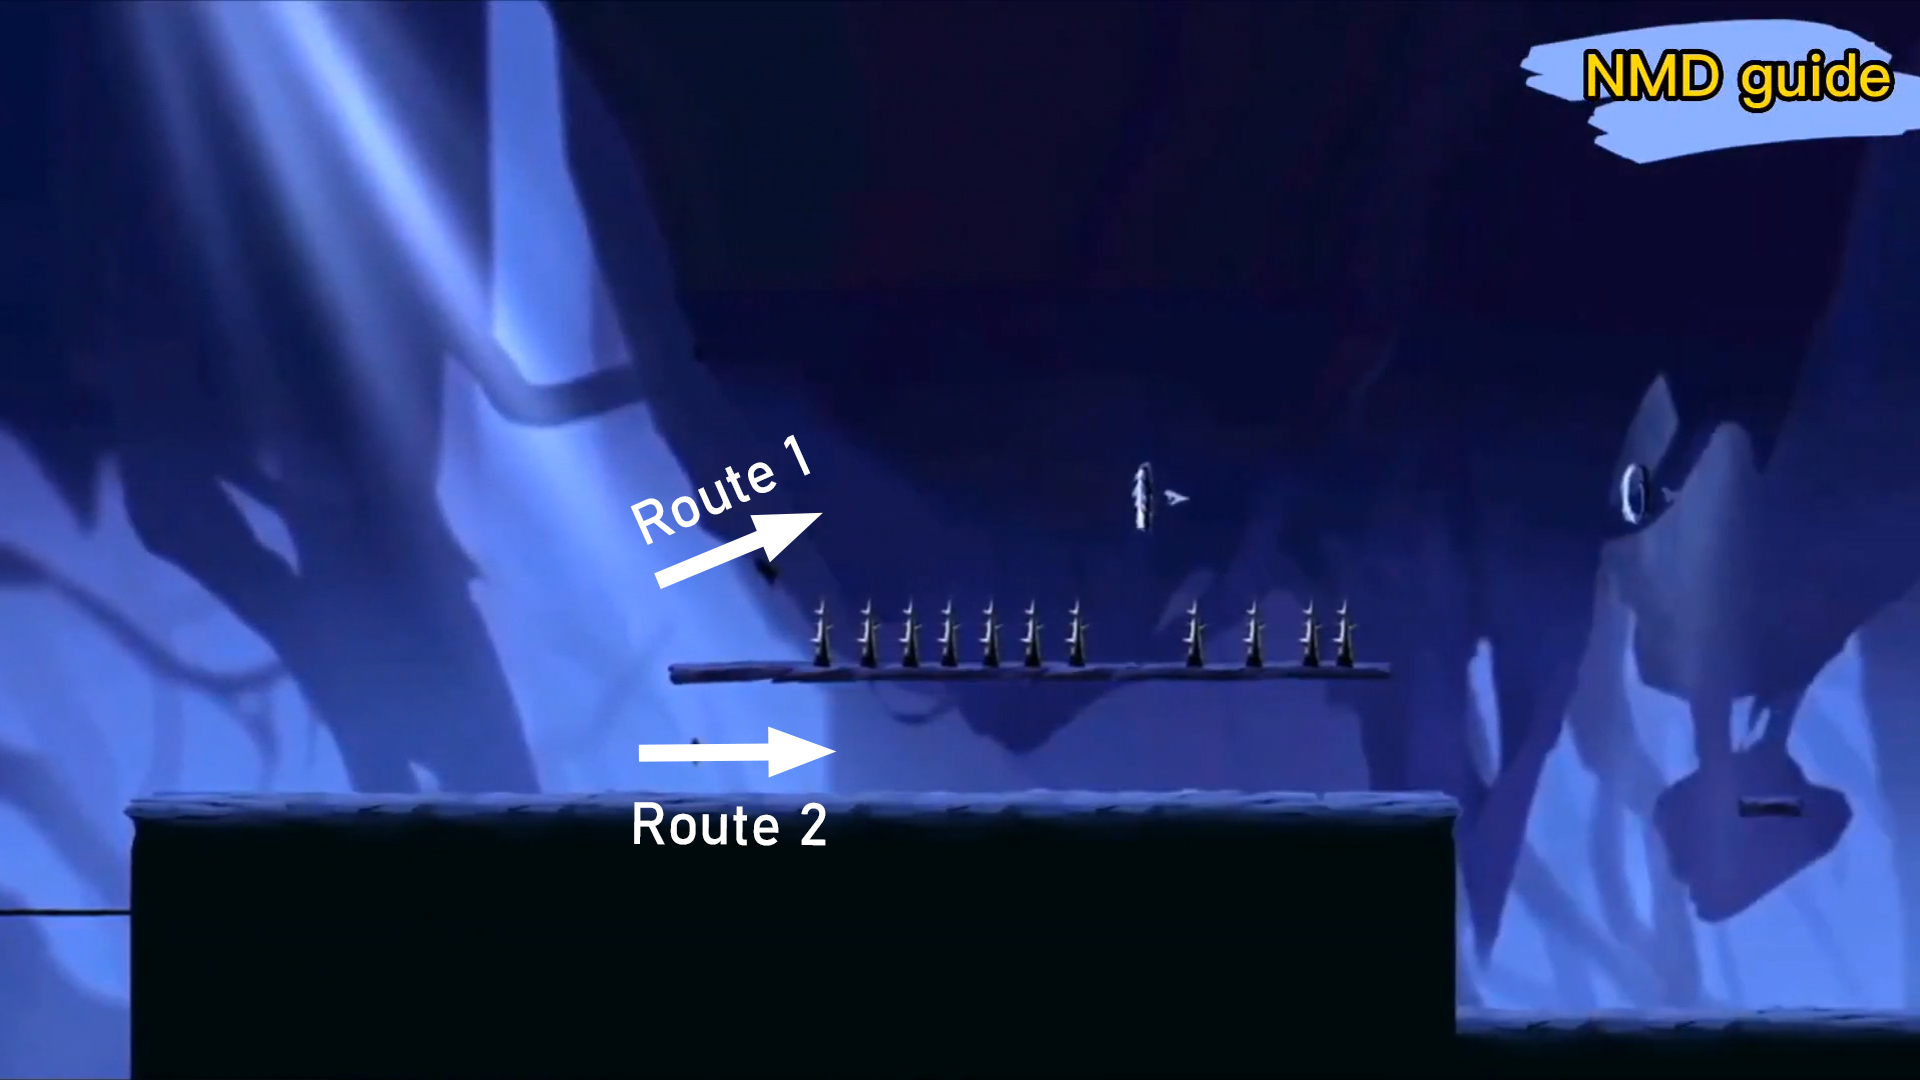
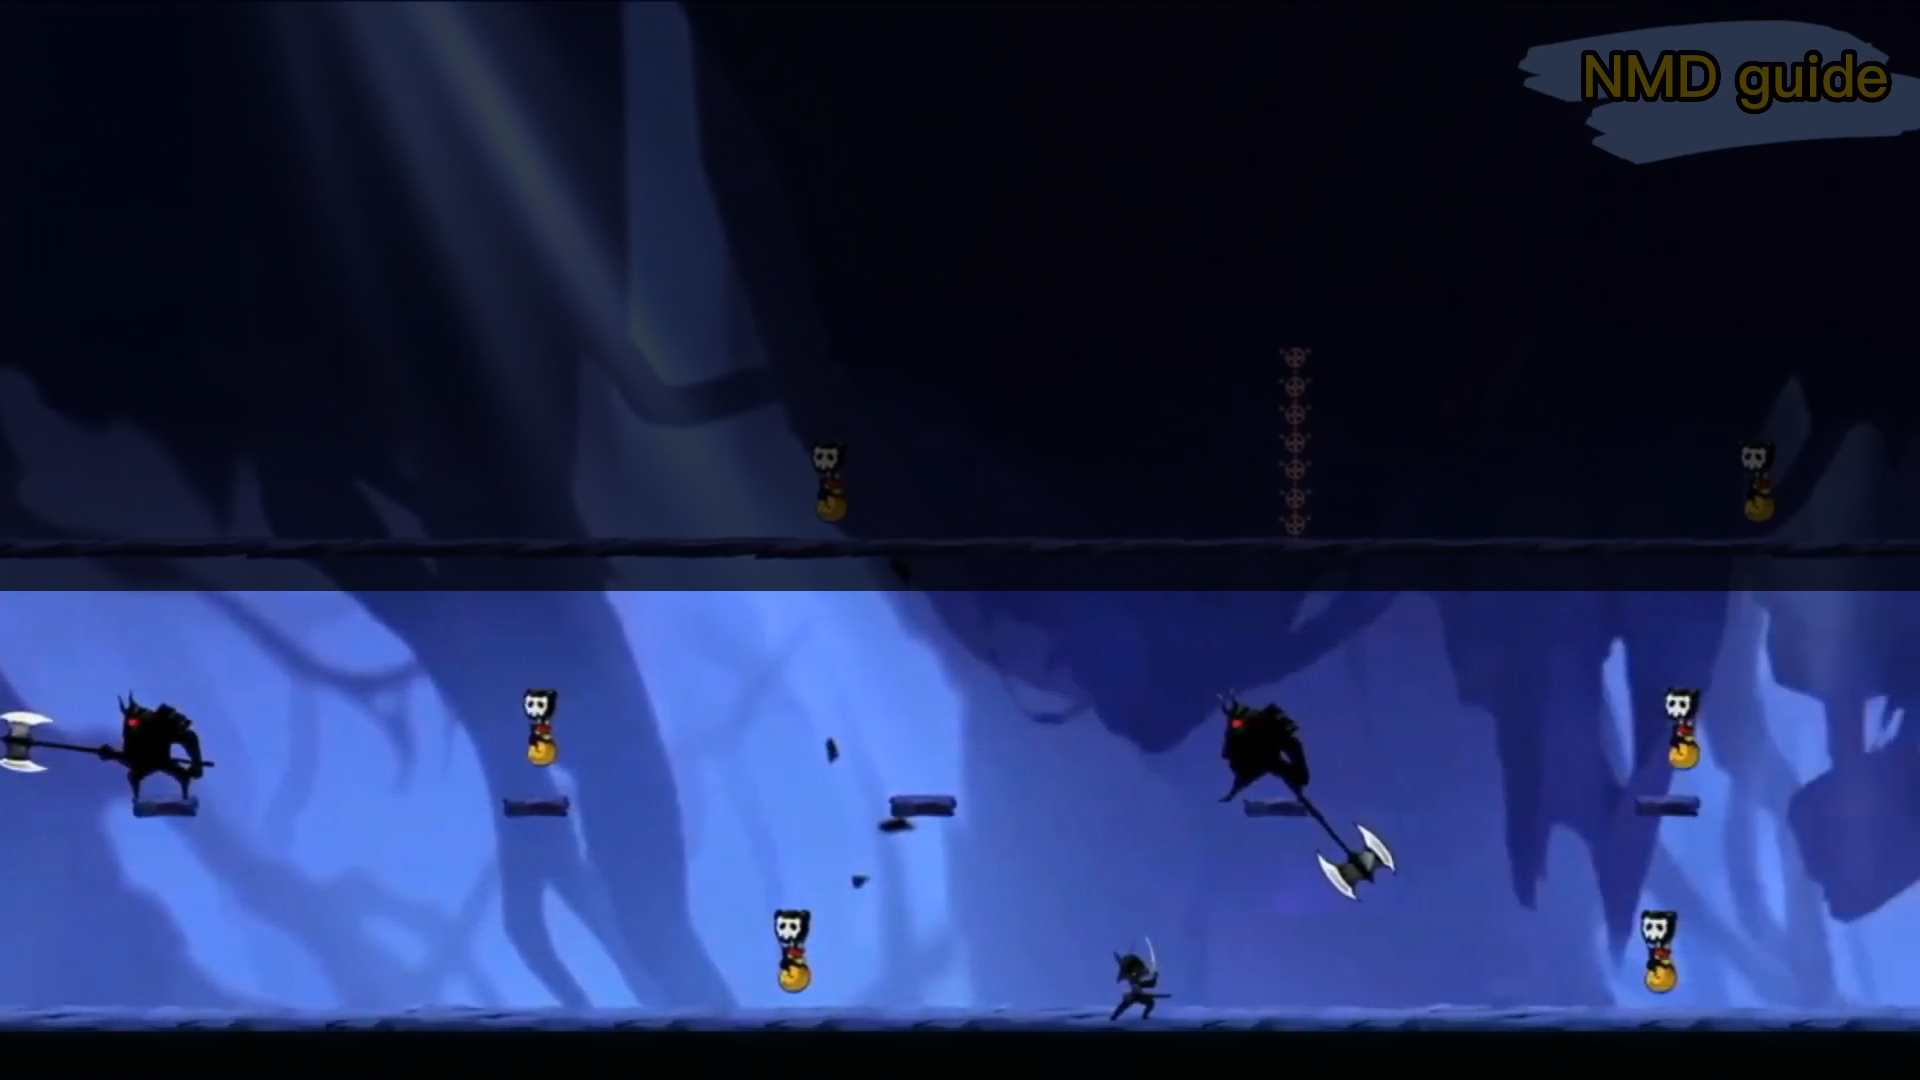
〚 Fork 2 〛
➥ For the second and last fork, both routes have the same difficulty with floating balloons on a floating platform and you need to access lots of acceleration portals or lots of jumping to pass through.
『 Route 1 』
➥ Route 1 is basically impossible to reach if you don't use Ninja which can do a triple jump. That is, unless, you reach the acceleration portal in the middle of Route 2 and jump to Route 1. Nevertheless, you can get around 60 Goldfish Coins here.
『 Route 2 』
➥ Route 2 is more dangerous than Route 1 because one wrong step and you will fall to death in the pit below so choose carefully whether you want to continue Route 2 till the end or use the acceleration portal and jump upwards to Route 1. Obviously, the dangers come with the rewards of more Goldfish Coins, which you will get a total of 140 Goldfish Coins (if you manage to get them all).
VIDEO REFERENCE
➥ Thank you to NMD Guide for the thorough map for the Raven Nest Elite Map. You can check out the video above for the full layout of the said arena.